Melt-in-your-mouth and delicately sweet, Melting Moments are a classic buttery cookie that lives up to its name with every tender bite. These cookies are perfect for holidays, gifting, or everyday indulgence.
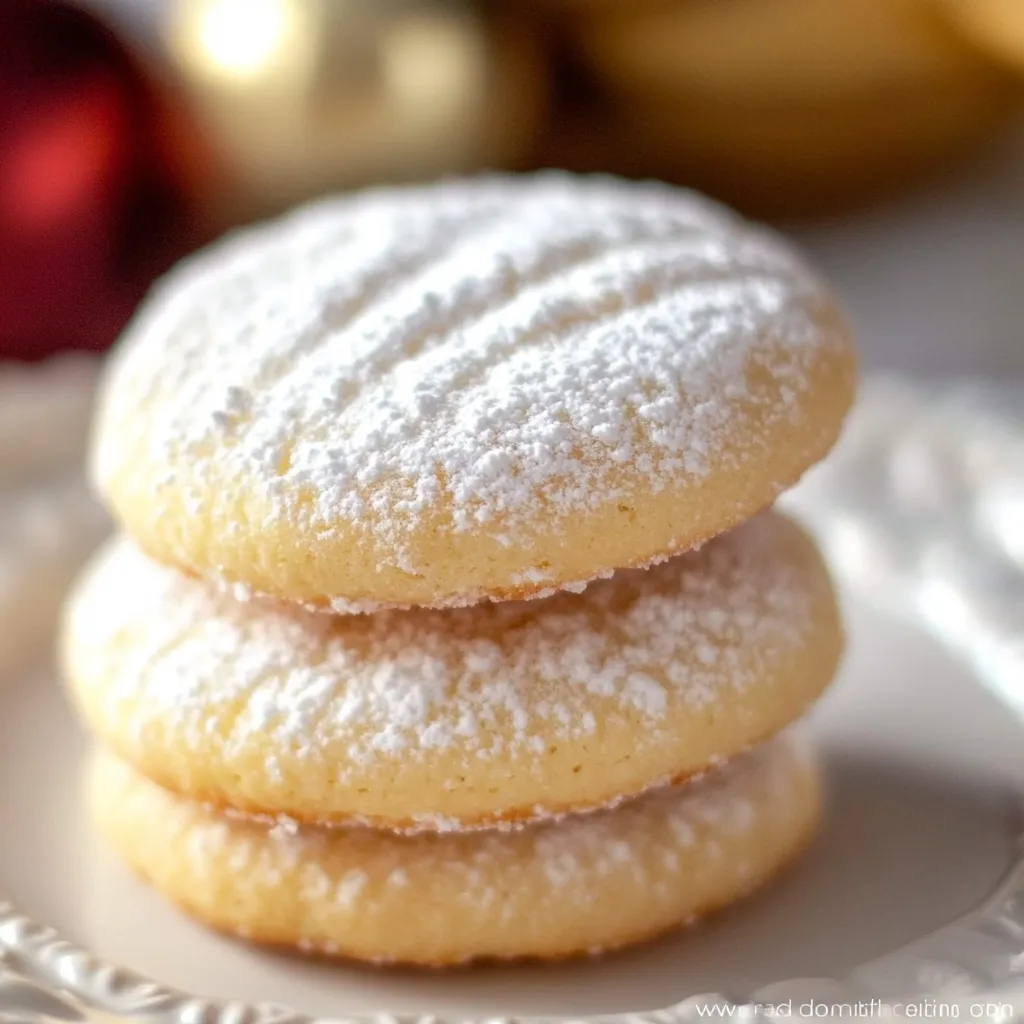
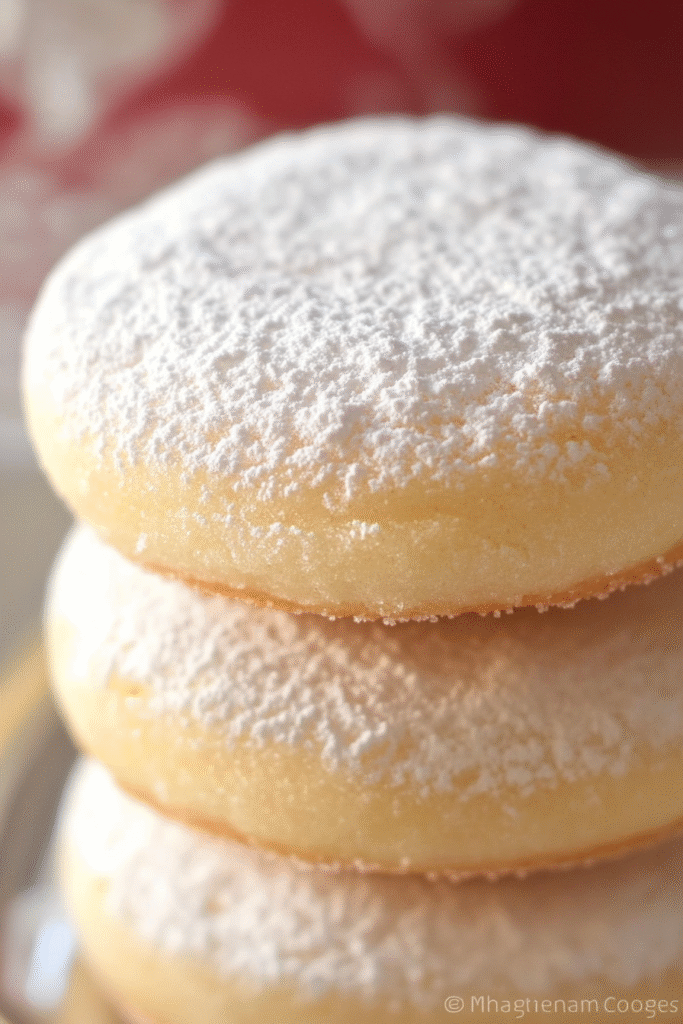
Made with just five pantry staples, these cookies are simple to whip up yet deliver a luxurious, crumbly texture that dissolves on the tongue. Lightly dusted with powdered sugar, they’re irresistibly charming and timeless.
The Magic Behind Melting Moments: Just 5 Main Ingredients
- Unsalted butter – The heart of these cookies, lending richness and that tender, melt-away texture.
- All-purpose flour – Provides structure, but kept minimal to ensure the soft, delicate crumb.
- Cornstarch – A key player in the melt-in-your-mouth magic, it keeps the texture ultra-light and tender.
- Powdered sugar – Sweetens the dough and adds to the velvety texture both inside and out.
- Vanilla extract – Rounds out the flavor with warmth and subtle complexity.
How to Make These Buttery Bites of Bliss
Start by creaming the butter until soft and fluffy—this is what builds the base for that luxurious texture. Add vanilla to infuse flavor, then gently fold in the dry ingredients. The dough may appear crumbly at first but comes together beautifully after a brief mix.
Shape into small balls, then flatten and imprint with a fork for that signature look. Bake just until set—no browning! Cool on the tray before transferring to a rack. Once cooled, roll generously in powdered sugar for that snowy finish.
Recipe Tips & Sweet Twists to Try
The key to achieving true melting moments lies in not overworking the dough and ensuring your butter is at room temperature. Overbaking is the only real pitfall—these cookies should remain pale and delicate, not golden.
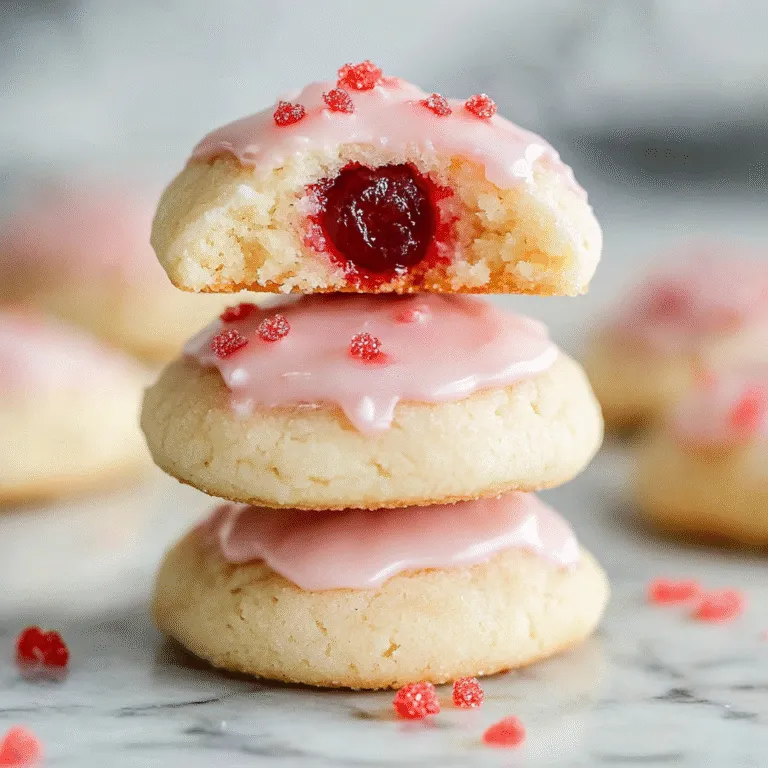
For a citrusy twist, try adding a hint of lemon zest to the dough. Want a festive flair? Sandwich two cookies with raspberry jam or lemon curd for a dainty afternoon tea treat. You can also infuse the powdered sugar with a touch of cinnamon or cardamom for an aromatic finish.
Keeping the Magic Alive: Storing Melting Moments
Store these cookies in an airtight container at room temperature for up to two weeks. They retain their texture beautifully. For longer storage, freeze them in a single layer and then transfer to a container or zip-top bag—they’ll keep for up to three months. Let them thaw at room temperature before serving, and give them a fresh toss in powdered sugar if needed.

Melting Moments Cookies
Ingredients
- 170 g ¾ cup unsalted butter, softened to room temperature
- 60 g ½ cup powdered sugar
- 1 teaspoon vanilla extract
- 210 g 1½ cups all-purpose flour, measured by dip-and-sweep method
- 60 g ½ cup cornstarch
Topping
- 60 g ½ cup powdered sugar, for dusting
Instructions
- Preheat oven to 350°F (177°C) and prepare a baking tray with parchment paper or a silicone mat. Set aside.
- In a medium-sized bowl, combine cornstarch, flour, and powdered sugar until well mixed.
- Using a hand mixer or stand mixer with a paddle attachment, beat the butter on medium for 1 to 2 minutes until creamy.
- Incorporate the vanilla extract into the butter and mix thoroughly.
- Gradually add the dry ingredients in two portions, mixing at low speed. When the mixture appears crumbly, increase to medium-high and beat for about 15 seconds until a cohesive dough forms.
- Portion the dough using a 2-teaspoon-sized cookie scoop (approx. 17 grams each), roll into smooth balls, and place them on the prepared baking sheet.
- Flatten each ball gently using your palm or fingers, then imprint with the tines of a fork for a traditional design.
- Bake for 16 to 18 minutes, just until the tops are set without browning. The cookies should be firm enough to handle but still soft.
- Allow the cookies to rest on the baking tray for 10 minutes before transferring them to a wire rack to cool completely.
- Once cooled, coat each cookie in a bowl of powdered sugar, shake off the excess, and place on a serving plate.
Notes
Avoid overbaking: Ensure the cookies remain pale; they should not brown. They will continue setting while on the baking tray after being removed from the oven.