Skip to content
RECIPES
Expand
APPETIZERS
BREAD
SALAD
COOKIES
PASTA
SOUP
MAIN DISH
CASSEROLE
SIDE DISH
Toggle Menu
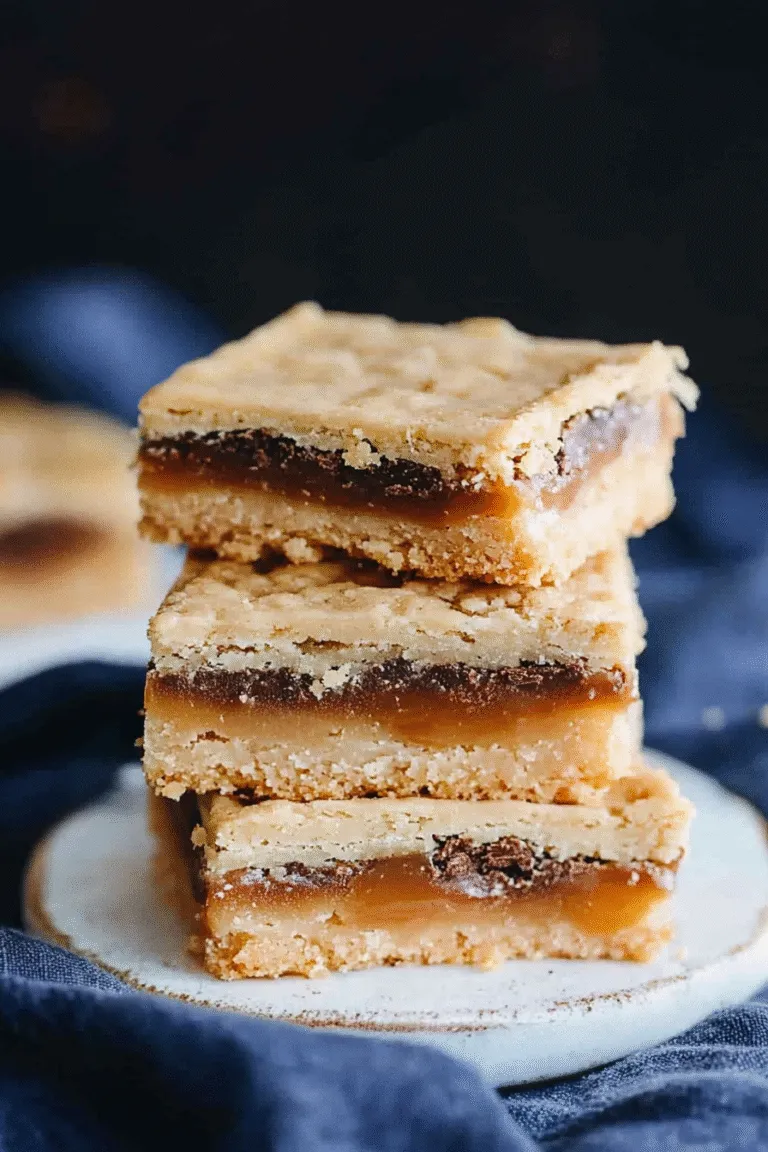
Chocolate Caramel Shortbread Bars
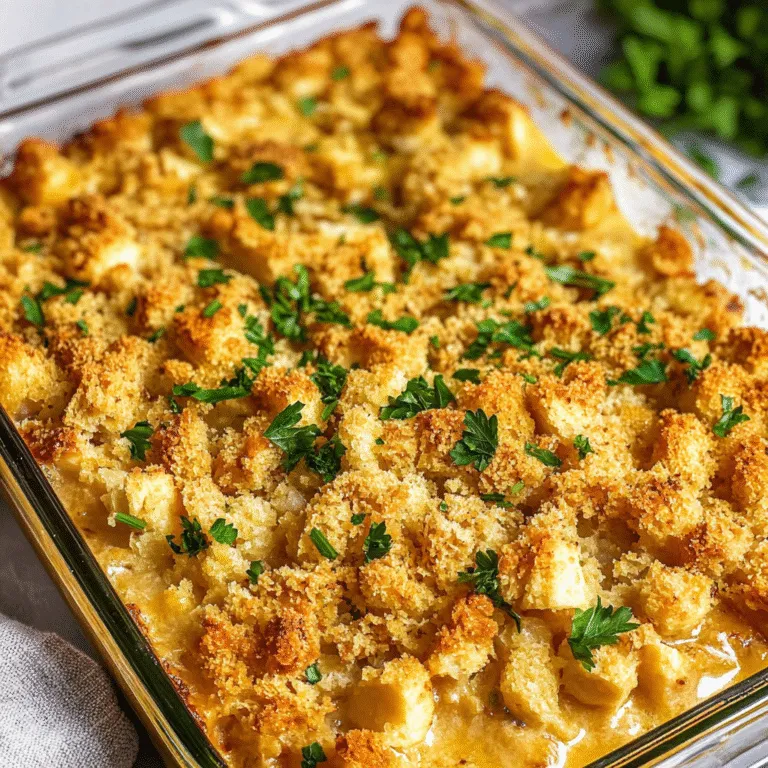
Chicken Stuffing Casserole
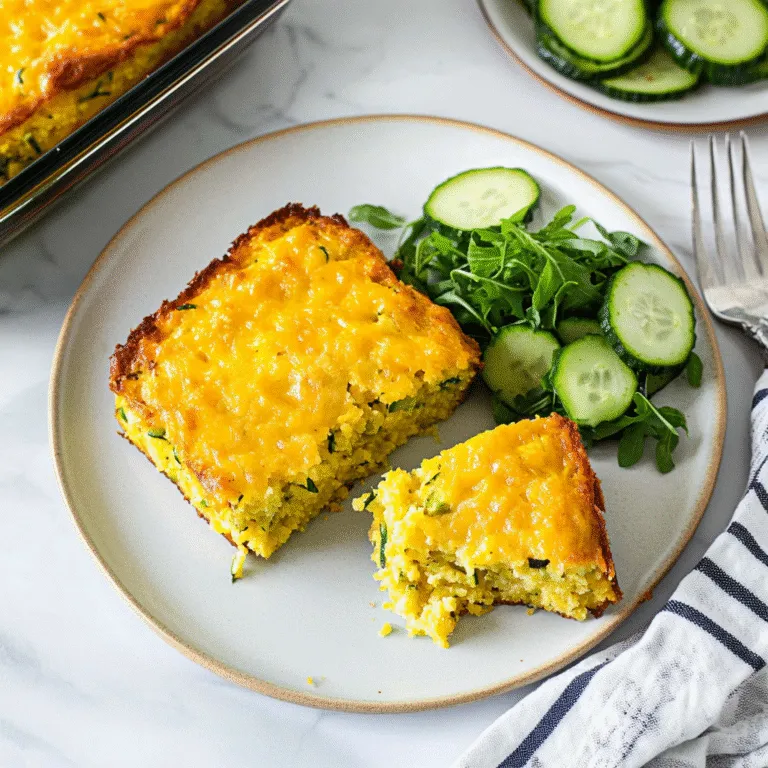
Zucchini Cornbread Casserole
Roasted Garlic-Parmesan Zucchini, Squash And Tomatoes
Old Fashioned Beef Stew
Swirled Easter Cake
Southern Baked Mac and Cheese
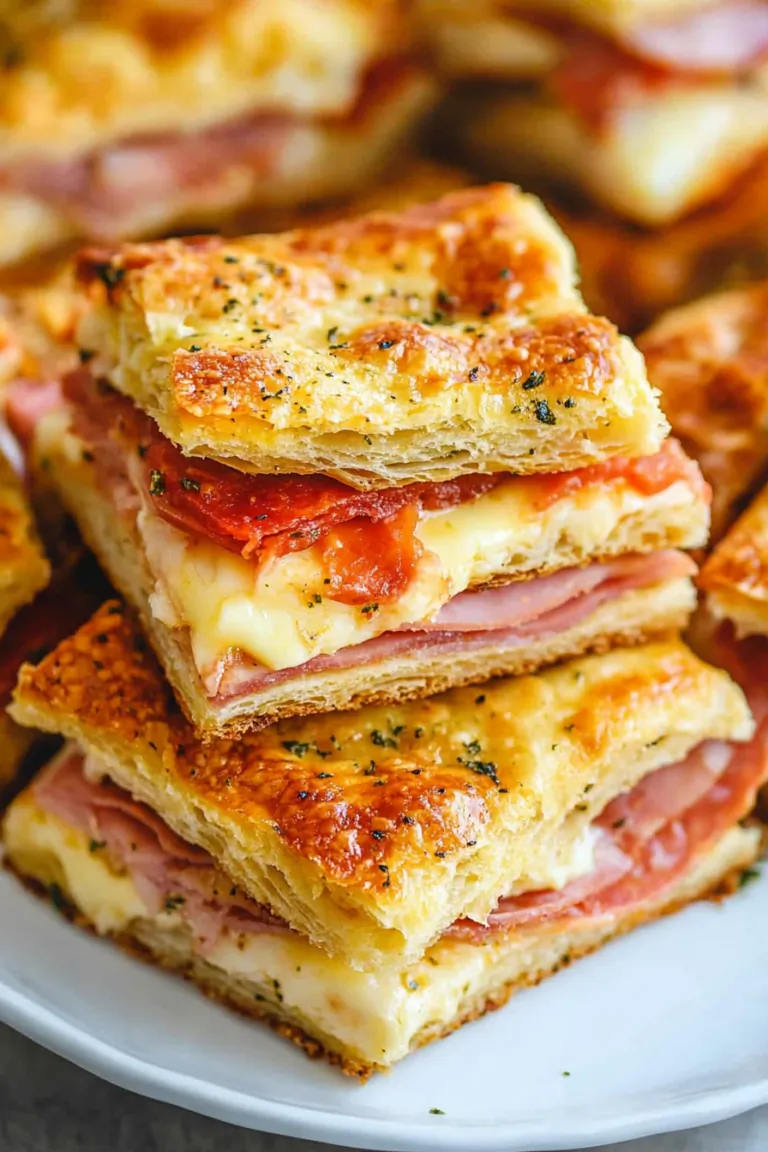
Antipasto Squares
Butterfinger Caramel Bars
Chicken Fajita Casserole
Page navigation
Previous Page
Previous
1
…
37
38
39
40
41
…
58
Next Page
Next
RECIPES
Toggle child menu
Expand
APPETIZERS
BREAD
SALAD
COOKIES
PASTA
SOUP
MAIN DISH
CASSEROLE
SIDE DISH