Skip to content
RECIPES
Expand
APPETIZERS
BREAD
SALAD
COOKIES
PASTA
SOUP
MAIN DISH
CASSEROLE
SIDE DISH
Toggle Menu
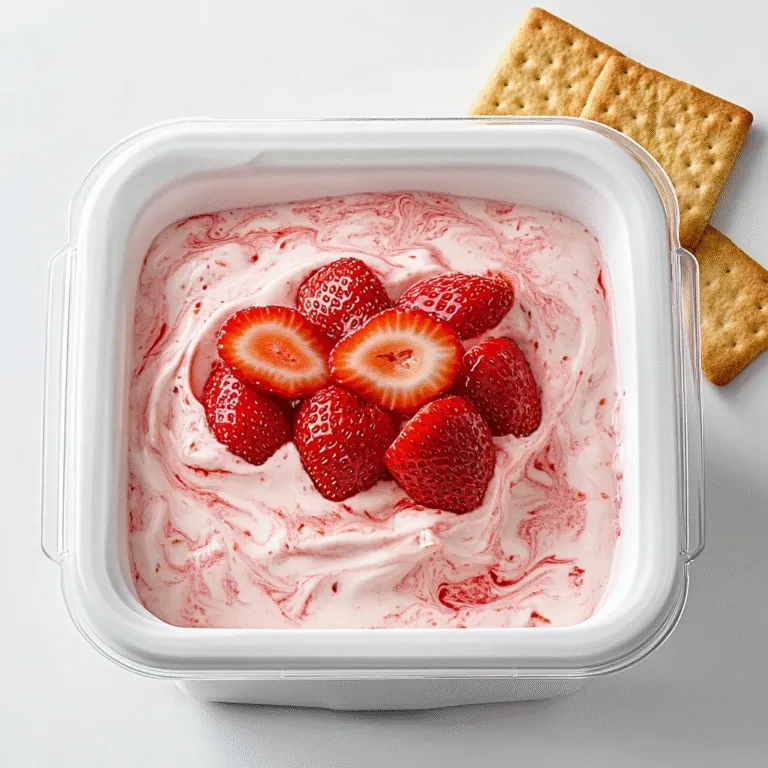
Strawberry Cheesecake Dip
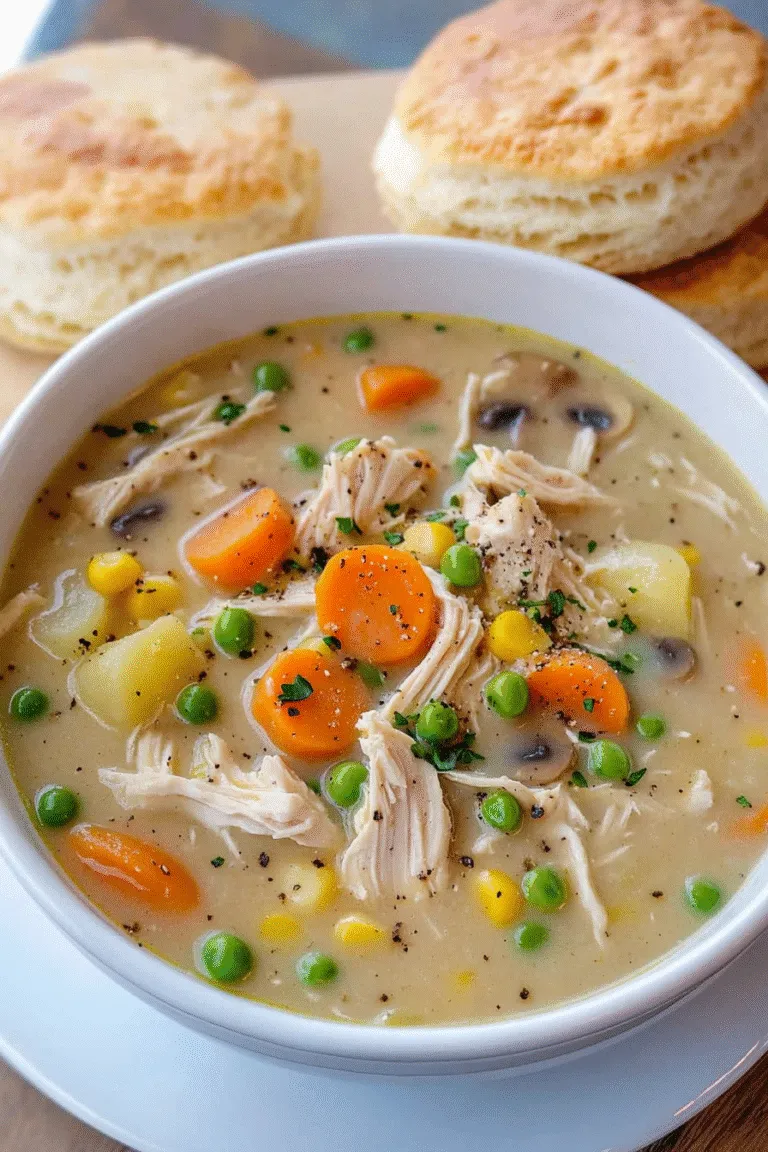
Chicken Pot Pie Soup
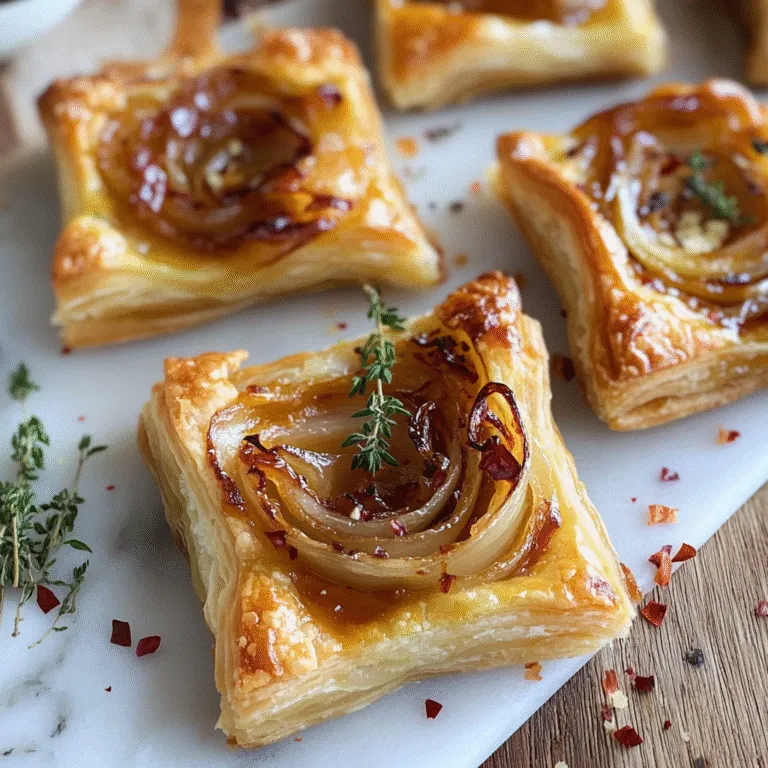
Upside Down Onion Tarts
Easy Broccoli Salad
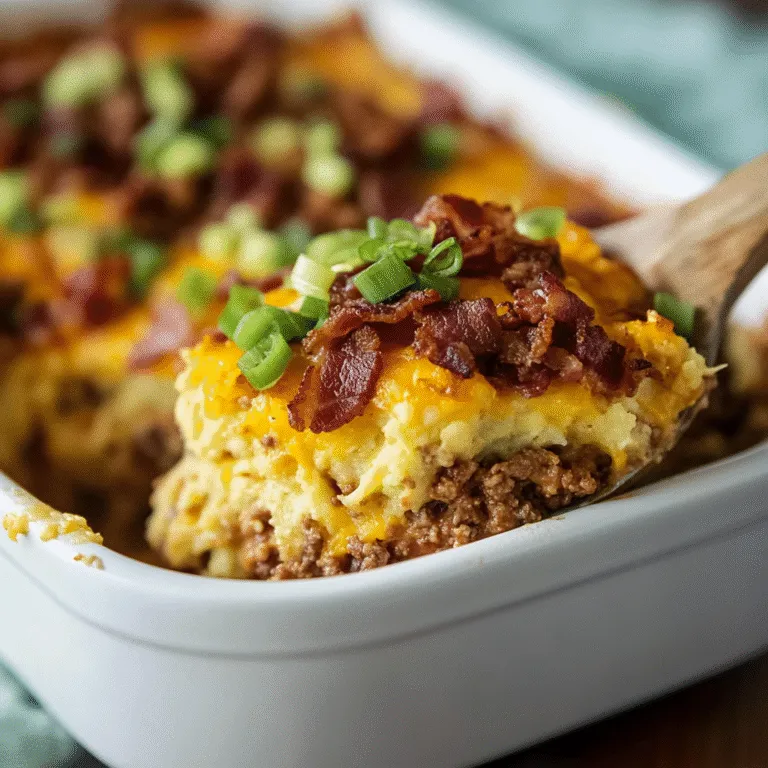
Bacon Cheeseburger Casserole
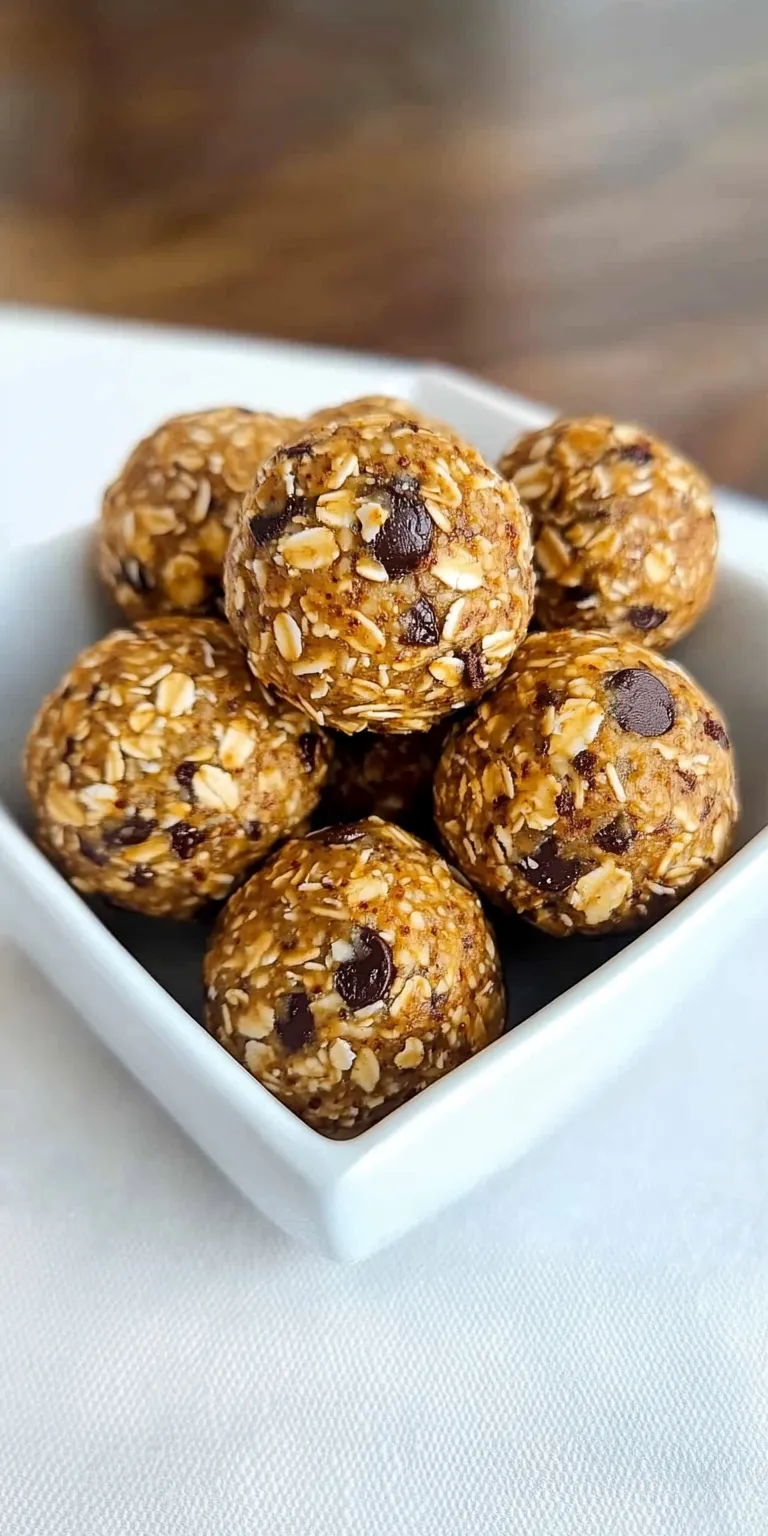
Energy Balls
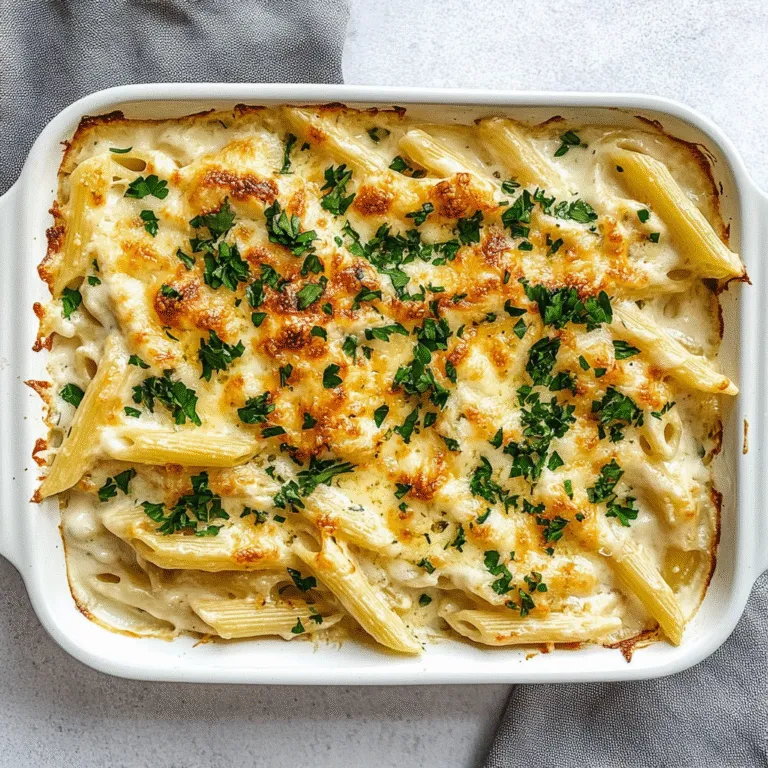
Chicken Alfredo Casserole
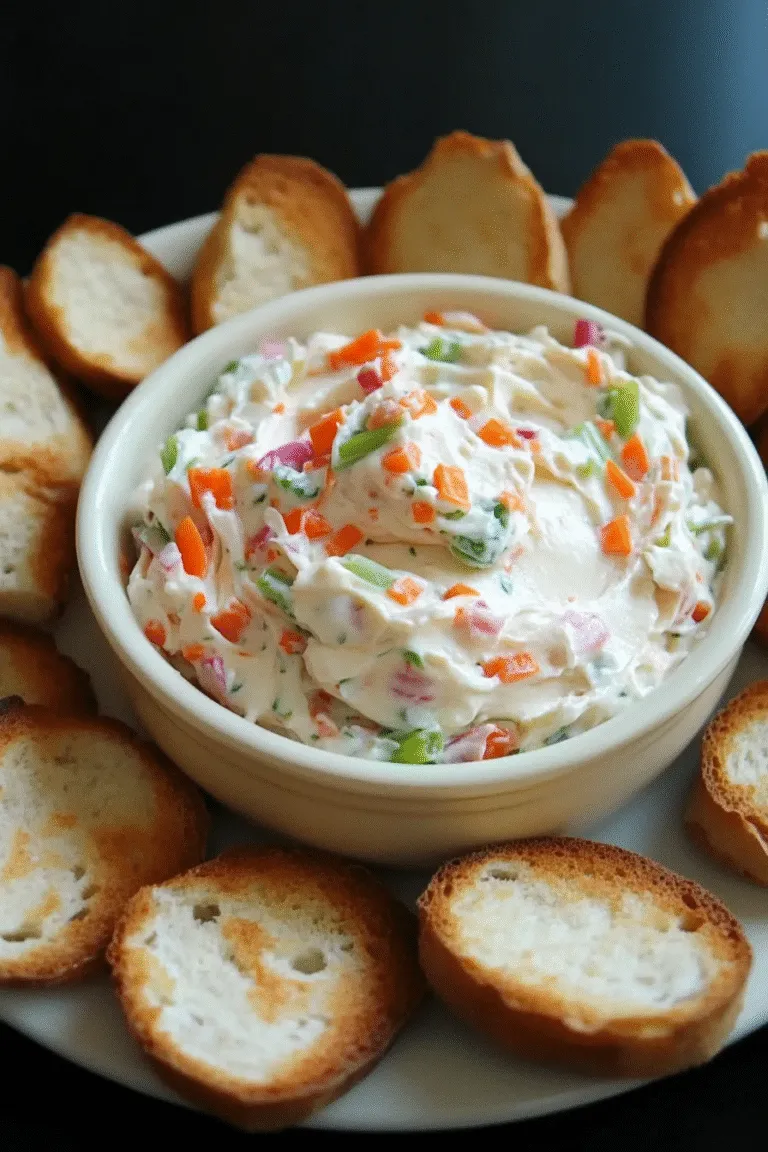
Vegetable Cream Cheese
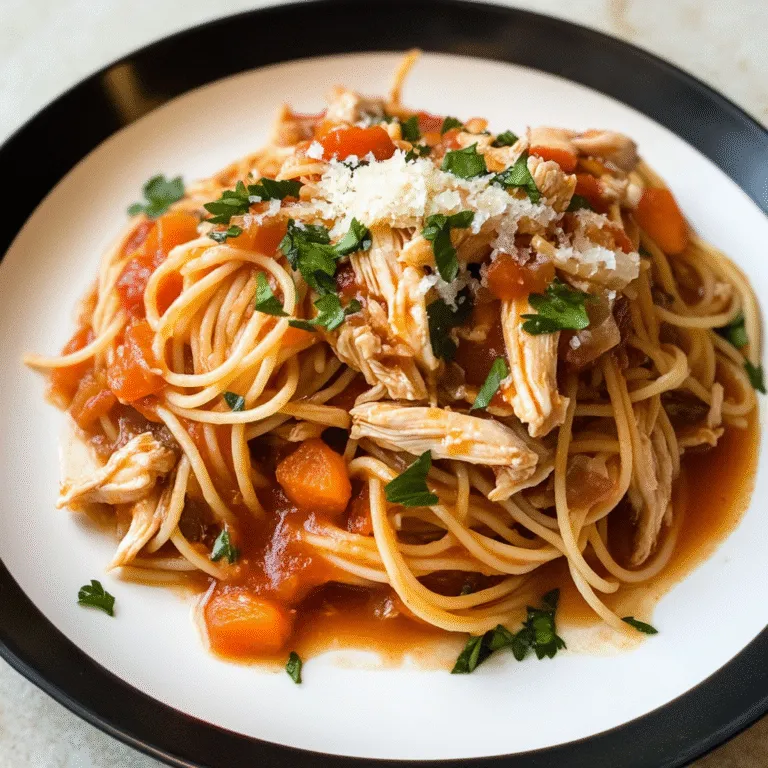
Slow Cooker Chicken Spaghetti Recipe
Blue Christmas Truffles
Page navigation
Previous Page
Previous
1
…
36
37
38
39
40
…
58
Next Page
Next
RECIPES
Toggle child menu
Expand
APPETIZERS
BREAD
SALAD
COOKIES
PASTA
SOUP
MAIN DISH
CASSEROLE
SIDE DISH