Make the holidays even sweeter with these irresistible Little Debbie Christmas Tree Snack Cake Truffles. Perfectly bite-sized and coated in creamy white chocolate, they’re a festive treat everyone will love.
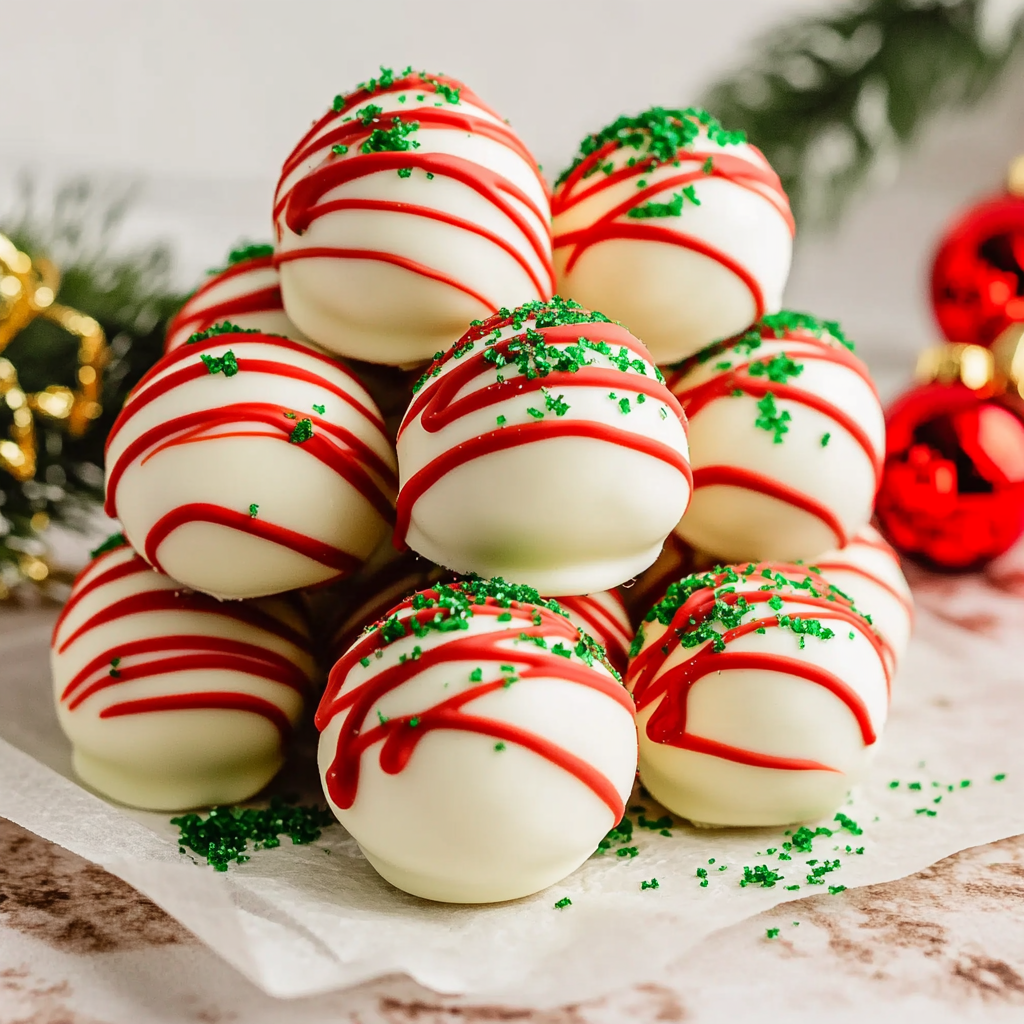
Whether you call them truffles, cake bites, or cake pops without the stick, this no-bake dessert transforms a nostalgic snack into holiday magic in under 30 minutes of hands-on time.
What You’ll Need for These Christmas Tree Snack Cake Truffles
- Little Debbie Christmas Tree Cakes – The star of the show, these snack cakes provide the sweet vanilla cake and fluffy filling base.
- Cream Cheese Frosting – Adds creaminess and helps bind the mixture into rich, rollable truffle dough.
- Bright White Chocolate Melts – Creates the smooth, sweet outer coating with a snowy white finish.
- Red Chocolate Melts – For those signature stripes, adding a pop of festive color and fun decoration.
- Green Sanding Sugar – A sparkling finish that gives each truffle a holiday shimmer and texture.
How to Make Christmas Tree Truffles – Quick and Fun!Start by blending the snack cakes with frosting until smooth and creamy.
Roll into even truffle-sized balls and chill until firm — this step makes them easier to coat.
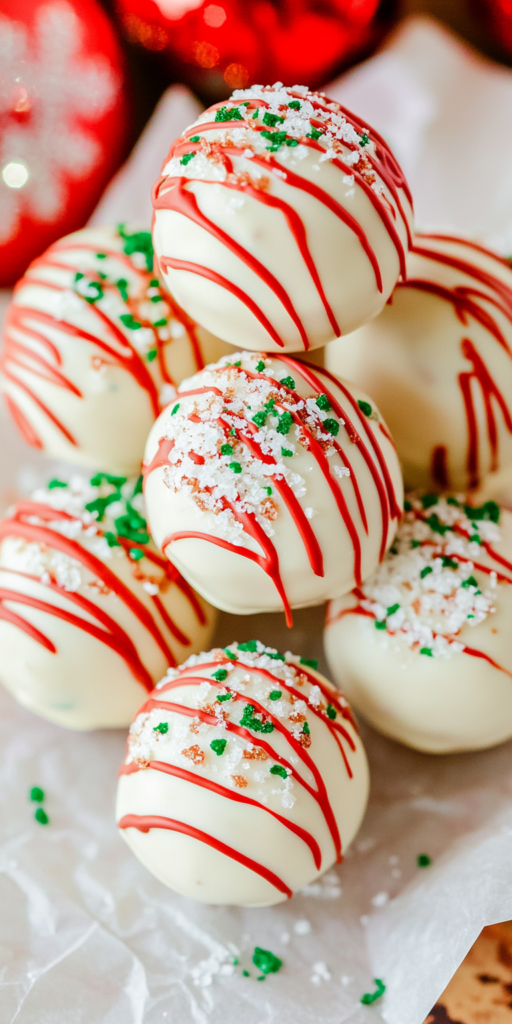
Dip each truffle in melted white chocolate, then set them on parchment to firm up again.
Decorate with a dusting of green sugar and red chocolate drizzle for that iconic tree look.
Let everything set, then they’re ready to serve or gift!
Tips & Twists to Make Them Extra Merry
Chilling the truffle balls before dipping is crucial — it keeps them from falling apart in the warm chocolate. If you want extra decadence, try adding a pinch of peppermint extract to the mix or use chocolate-flavored snack cakes for a twist.
Swap the red drizzle for gold or green if you’re customizing for a theme party or holiday platter. These truffles are also great made ahead — just store them chilled and decorate before serving for the freshest look.
You can even get the kids involved in the decorating — it’s a fun and festive holiday kitchen activity.
Storing These Sweet Treats Just Right
Keep your truffles in an airtight container in the fridge for up to 5 days — the chocolate shell helps lock in moisture.
If you want to freeze them, do so before decorating. Place in a single layer, freeze until solid, then transfer to a sealed container. Thaw in the fridge overnight, then decorate before serving for best results.
Reheating isn’t needed — they’re best served chilled or at room temperature for that perfect cake-and-frosting texture inside.

Little Debbie Christmas Tree Snack Cake Truffles
Ingredients
- ½ a bag of red chocolate melts
- 2 boxes 10 cakes of Christmas Tree Cakes
- ½ cup cream cheese frosting
- 1 bag bright white chocolate melts
- Green sanding sugar
Instructions
- Combine the Christmas Tree Cakes and cream cheese frosting in a stand mixer and blend at high speed until the mixture is smooth and cohesive.
- Scoop out approximately two tablespoons of the mixture at a time and roll into uniform balls; you should produce 10 in total. Arrange the formed truffles on a parchment-lined tray.
- Transfer the tray to the freezer and allow the truffles to chill for one hour.
- Meanwhile, place the white chocolate melts in a large, microwave-safe bowl. Heat in 45-second bursts, stirring after each interval until fully melted and smooth.
- Retrieve the truffles from the freezer and immerse each one individually into the melted white chocolate. Roll each truffle to fully coat, then lift out using a fork, allowing excess chocolate to drip off. Set the coated truffles back onto the parchment paper.
- After all truffles are dipped, place them back into the freezer for roughly 10 minutes to let the coating firm up.
- Once the coating has solidified, melt the red chocolate melts and transfer the melted chocolate into a piping bag. Snip a small opening at the tip.
- Moisten the tops of the truffles lightly with water using a fingertip, then dust with green sanding sugar.
- Pipe red decorative lines in a gentle side-to-side motion over each truffle.
- Allow decorations to set completely before serving. Store any leftovers in an airtight container.