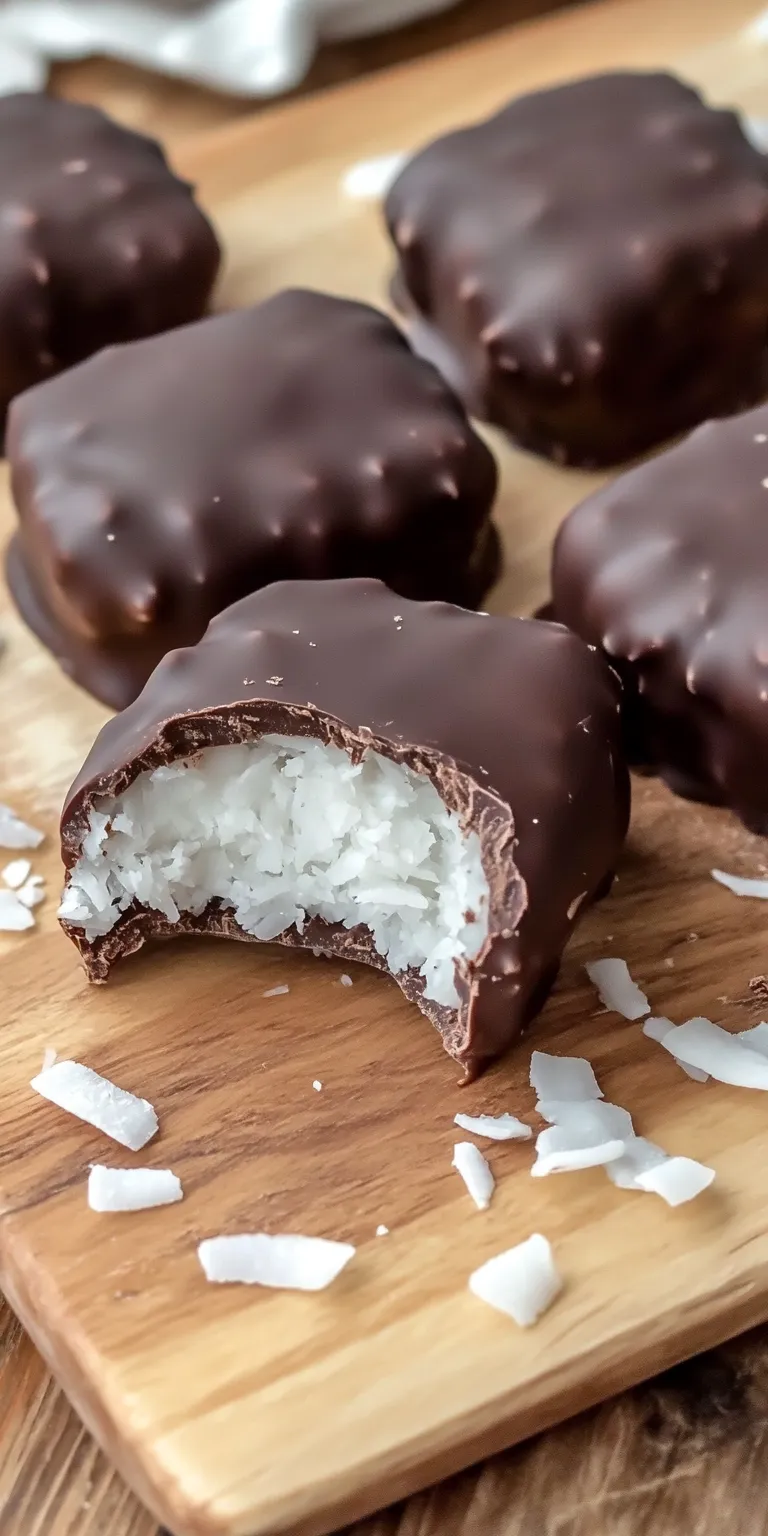
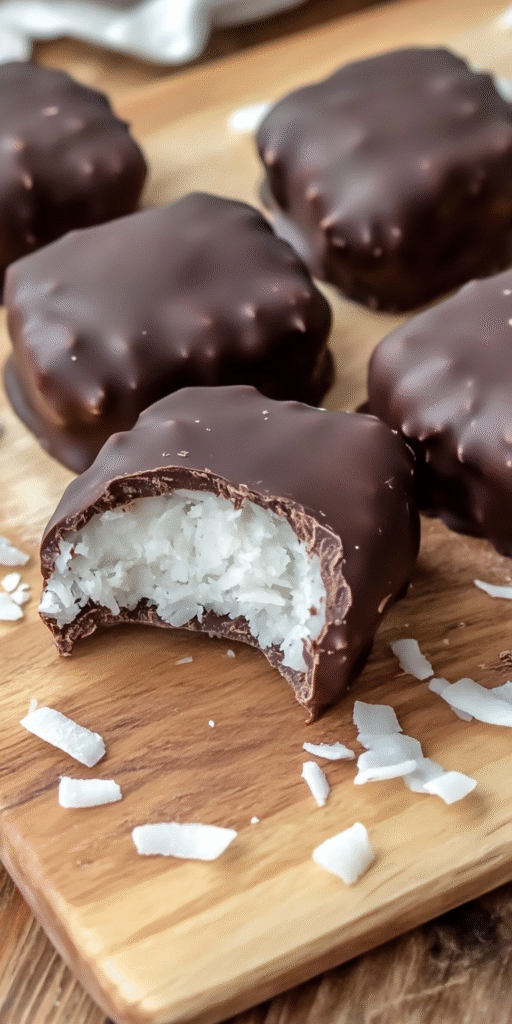
These Homemade (Healthier) Mounds Bars are rich, chocolatey, and naturally sweetened for a satisfying treat without the dairy or excess sugar. They’re freezer-friendly and made with clean ingredients.
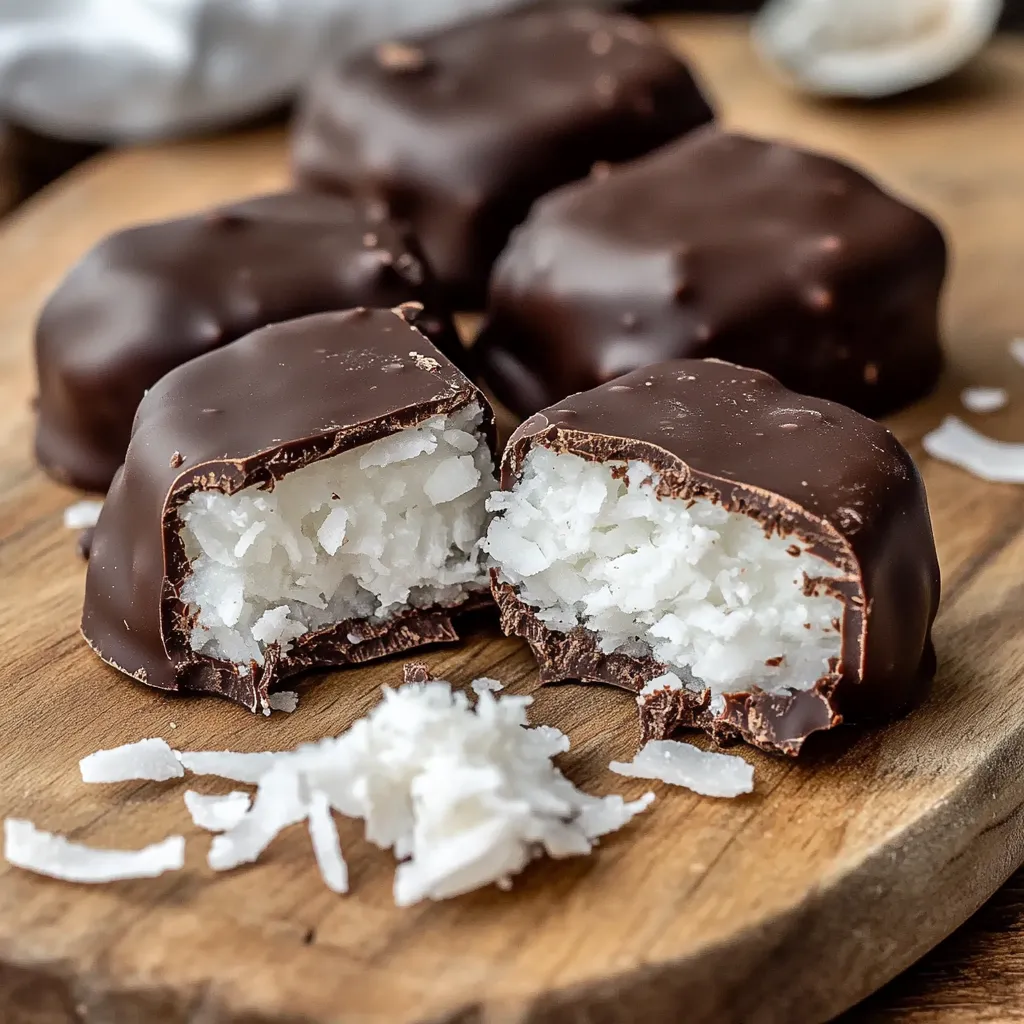
Each bite bursts with coconut creaminess wrapped in a crisp dark chocolate shell. Easy to whip up and even easier to enjoy, these are perfect for guilt-free indulgence.
Star Players in These Homemade (Healthier) Mounds Bars
- Coconut milk – Delivers rich, creamy moisture that binds the filling with luscious texture.
- Unsweetened shredded coconut – The heart of the bar, giving it that signature tropical chew and flavor.
- Coconut flour – Helps firm the mixture while keeping it grain-free and naturally sweet.
- Raw honey – Adds a gentle sweetness and keeps things unprocessed (swap for maple syrup to go vegan).
- Dark chocolate – A luxurious, dairy-free shell that complements the sweet coconut with deep cocoa notes.
How to Make Homemade (Healthier) Mounds Bars
Start by combining coconut milk, shredded coconut, coconut flour, and honey in a large bowl until well mixed. Shape this mixture into bars and arrange them on parchment-lined baking sheets.
Let the bars firm up in the freezer for about an hour. During that time, gently melt your dark chocolate using a double boiler or microwave in short bursts.
Once chilled, dip each frozen bar into the melted chocolate and scrape off any excess for a smooth finish. Let the chocolate harden, and your homemade Mounds Bars are ready to chill and enjoy!
Tips for Success and Sweet Swaps
For perfectly shaped bars, use a small cookie scoop or press the mixture into a pan and slice it into uniform pieces before freezing. Let the coconut mixture sit for a few minutes after mixing to allow the coconut flour to absorb excess moisture—this makes it easier to shape.
Want a different twist? Try adding a touch of vanilla or almond extract to the mixture, or sprinkle a bit of flaky sea salt on top of the chocolate for that irresistible sweet-salty combo.
If you’re making these vegan, maple syrup works beautifully in place of honey. Just keep an eye on consistency and adjust the coconut flour slightly if needed.
Chill Time: How to Store Your Mounds Bars
These bars shine when stored chilled. Keep them in an airtight container in the freezer for long-term freshness—up to three months.
For short-term storage, the fridge works well too. Just remember: because they’re made with real dark chocolate and no stabilizers, they’ll soften at room temperature. Serve straight from the fridge or freezer for the perfect bite every time.

Homemade Mounds Bars
Ingredients
- 1 15-ounce can coconut milk
- 2 9-ounce bags of high-quality dark chocolate (dairy-free, if needed)
- ¼ cup + 1 tablespoon coconut flour
- ¼ cup raw honey or maple syrup for a vegan version
- 2 cups unsweetened shredded coconut
Instructions
- In a large mixing bowl, thoroughly combine the coconut milk, unsweetened shredded coconut, coconut flour, and raw honey (or maple syrup).
- Form the blended mixture into individual bar shapes and arrange them on two parchment-lined or nonstick mat-lined baking sheets.
- Transfer the shaped bars to the freezer and chill for a minimum of one hour to firm up.
- While the bars freeze, gently melt the dark chocolate using a double boiler or by microwaving in short intervals, stirring frequently to avoid scorching.
- Once the bars are solid, dip each one into the melted chocolate, then carefully scrape off any excess chocolate using a spoon or knife to ensure a light coating.
- Set the coated bars aside to allow the chocolate to fully harden.
- Store the completed Mounds bars in the refrigerator or freezer. Serve chilled, as the chocolate coating will soften if left at room temperature for too long.