Skip to content
RECIPES
Expand
APPETIZERS
BREAD
SALAD
COOKIES
PASTA
SOUP
MAIN DISH
CASSEROLE
SIDE DISH
Toggle Menu
Author: alex
Crockpot Kitchen Sink Casserole
Long John Silver’s Batter
Peanut Butter Balls with Rice Krispies
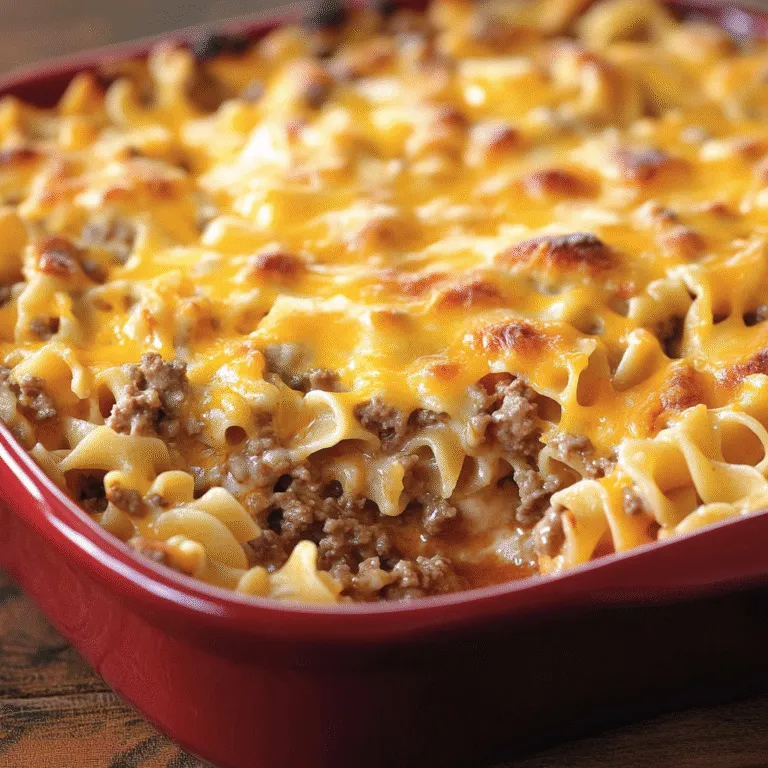
Poor Man’s Husband Casserole
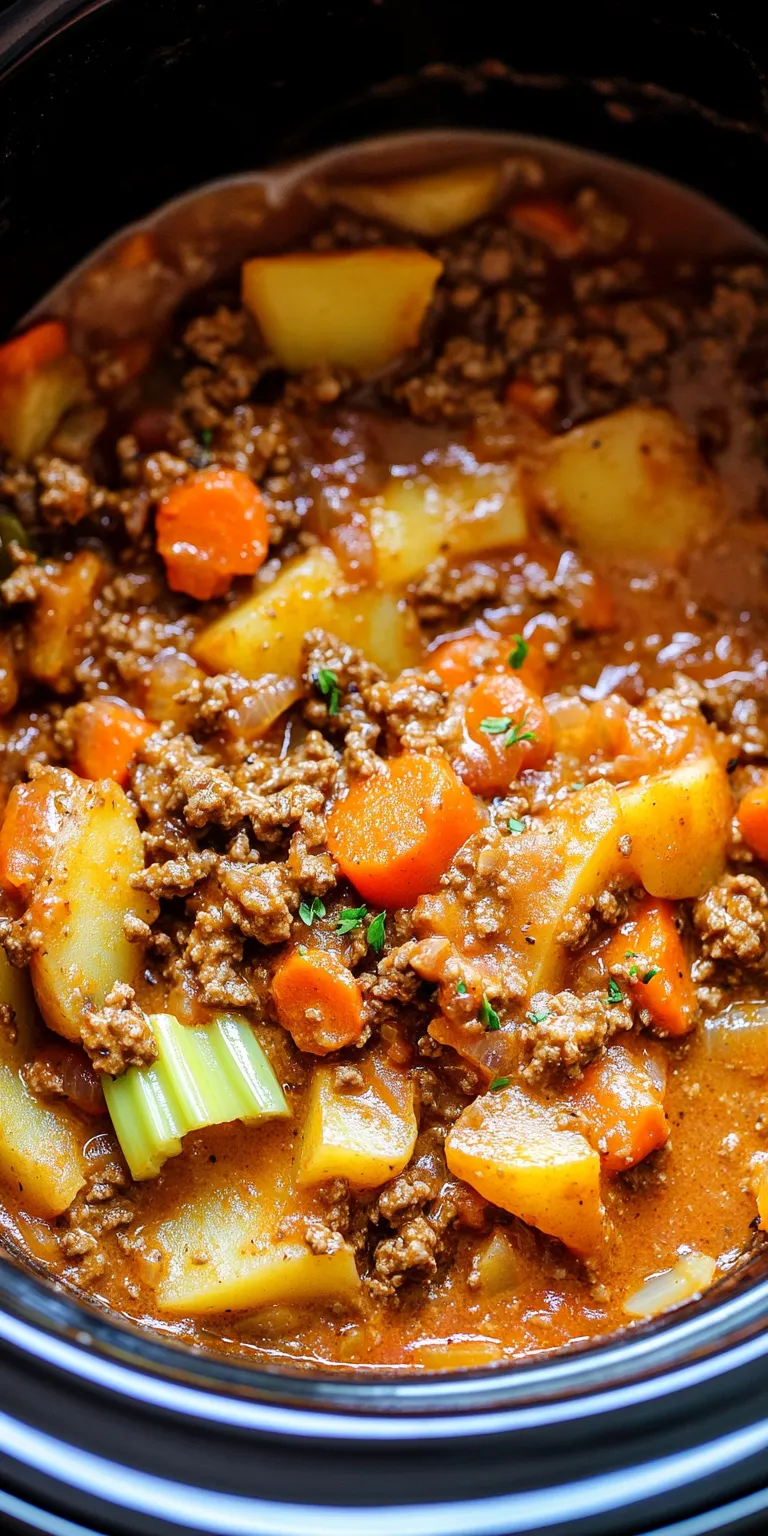
Mexican Picadillo
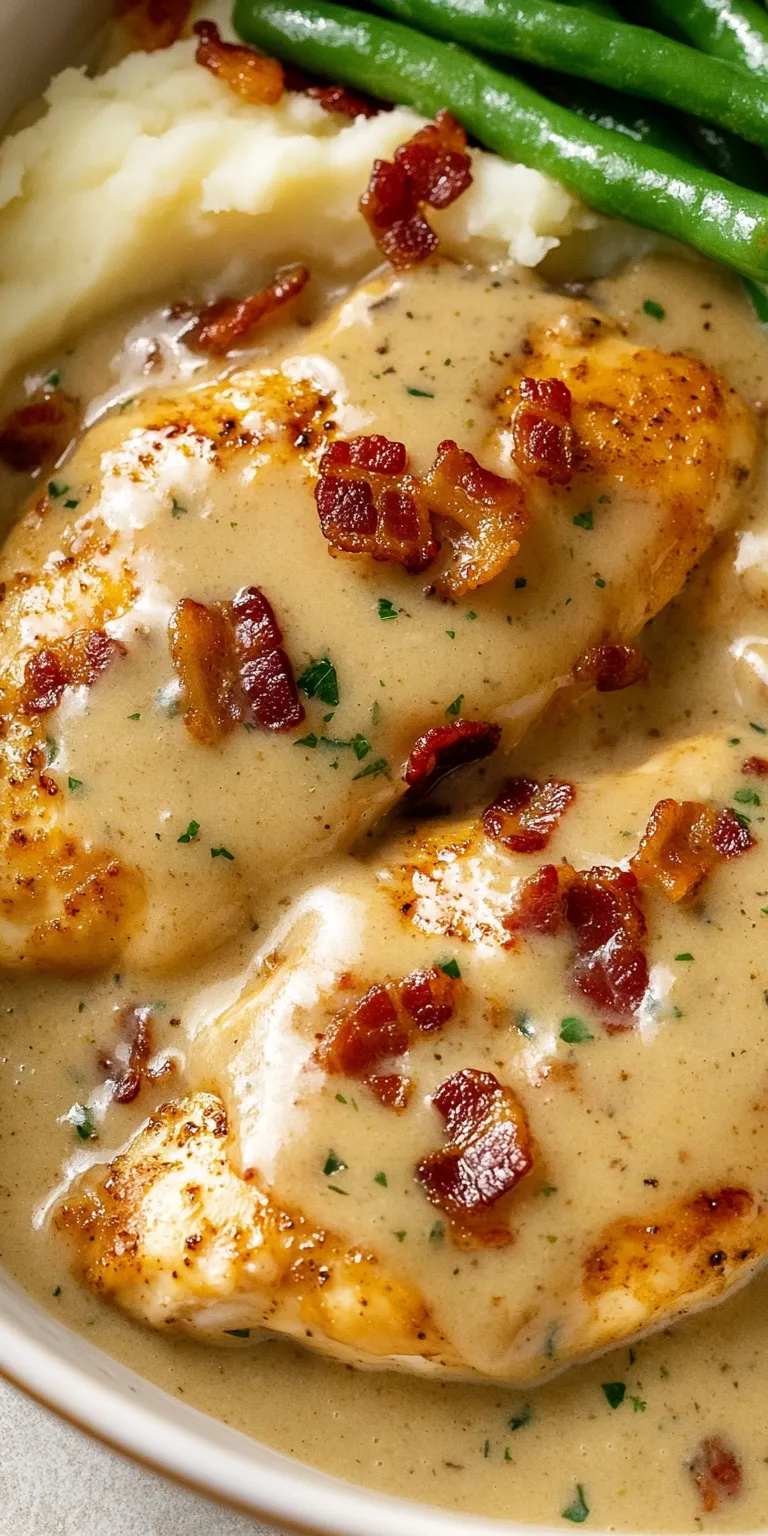
Smothered Chicken
Creamy Cucumber Salad
Pecan Snowball Cookies
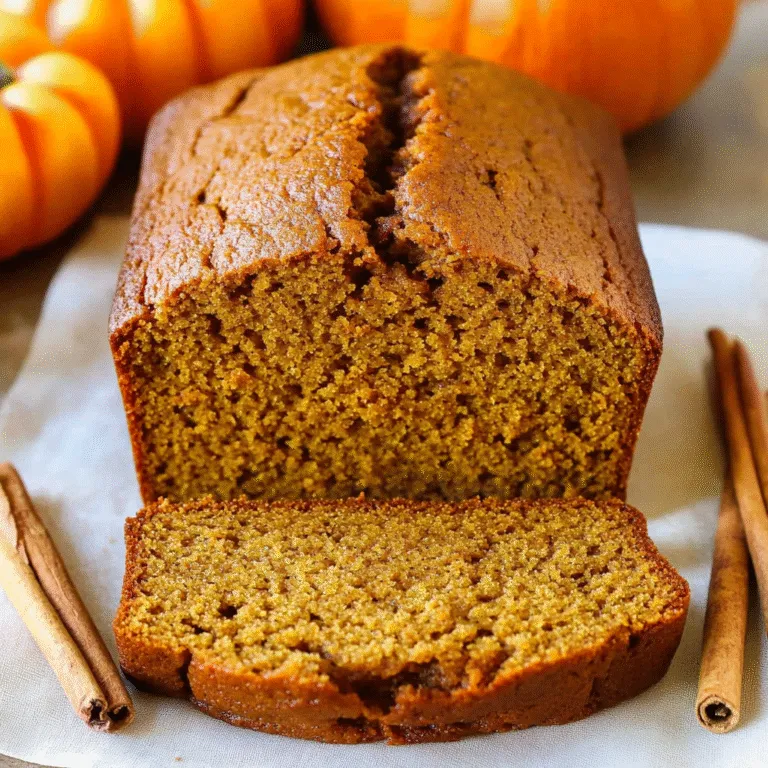
Pumpkin Bread Recipe
Slow Cooker Cheesy Burger Flavored Soup
Page navigation
Previous Page
Previous
1
…
35
36
37
38
39
…
58
Next Page
Next
RECIPES
Toggle child menu
Expand
APPETIZERS
BREAD
SALAD
COOKIES
PASTA
SOUP
MAIN DISH
CASSEROLE
SIDE DISH