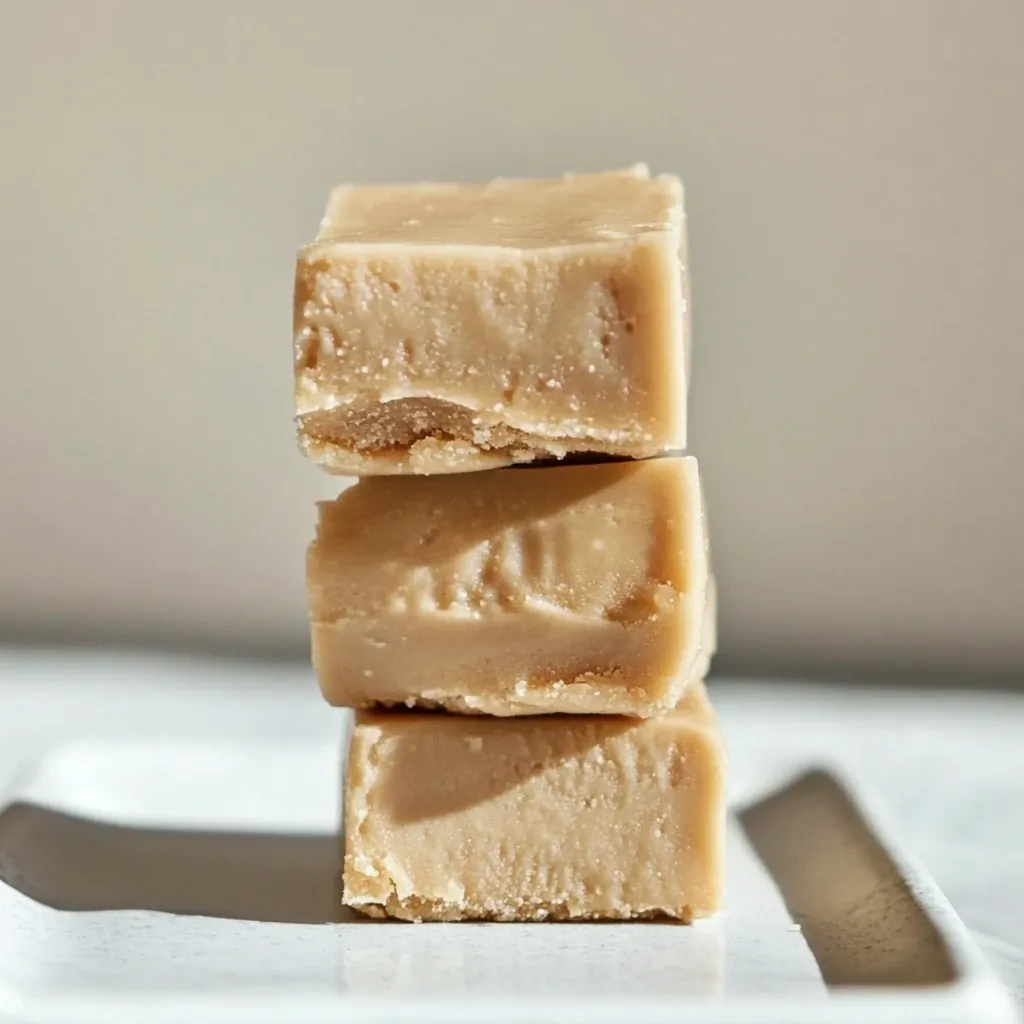
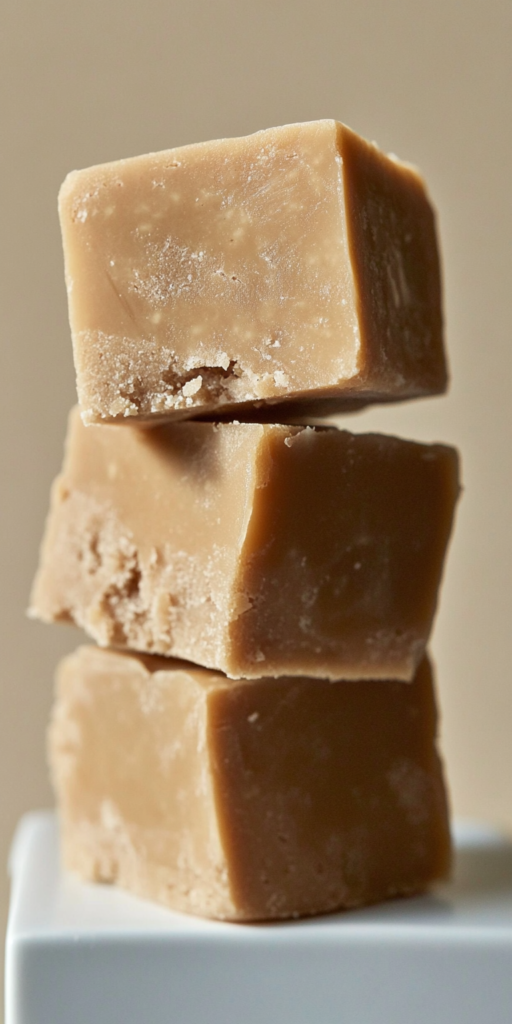
Old fashioned penuche fudge recipe captures that nostalgic, caramel-kissed sweetness with a buttery richness that simply melts on the tongue. This timeless treat only needs five simple ingredients.

Perfect for holidays or sweet cravings, this creamy, brown sugar fudge delivers old-school charm with every bite. Add nuts for texture or enjoy it smooth—either way, it’s irresistible.
Sweet Simplicity: Key Ingredients in This Old Fashioned Penuche Fudge Recipe
- Light brown sugar – Delivers that signature caramel flavor and chewy texture.
- Granulated white sugar – Helps balance the depth of molasses from the brown sugar.
- Whole milk – Provides the creamy base that makes the fudge smooth and luscious.
- Unsalted butter – Adds rich flavor and silky finish when beaten in at the end.
- Pure vanilla extract – Enhances the butterscotch notes and rounds out the sweetness.
How to Make Penuche Fudge: A Quick Peek into the Process
Start by combining the sugars and milk in a heavy saucepan, bringing the mixture to a boil with constant stirring. Once it boils, stop stirring to avoid gritty fudge.
Let it cook undisturbed to the soft-ball stage—236°F—then remove from heat and add butter and vanilla without mixing. Let it cool to 110°F before beating it into a creamy fudge.
Once thickened, pour into a buttered pan before it hardens. Optional chopped nuts can be folded in just before pouring. Let the fudge cool completely, then cut into squares and enjoy.
Sweet Tips for Success & Flavorful Variations
Temperature control is everything when it comes to perfect penuche fudge. Don’t stir once the mixture starts to boil—this prevents the formation of large sugar crystals and keeps the fudge smooth.
Use a candy thermometer for accuracy, or the old-fashioned cold water test to find the soft-ball stage. If the fudge turns dry or chalky, don’t worry—just reheat it with a bit of milk or water and bring it back to 236°F slowly, then try again.
Add-ins like chopped pecans or walnuts bring a delightful crunch that contrasts the smoothness of the fudge. A pinch of sea salt or swirl of maple extract can also elevate the flavor.
Storing Sweetness: Keep That Fudge Fresh
To keep your penuche fudge soft and flavorful, store it in an airtight container in the refrigerator. Layer squares with parchment paper to prevent sticking.
For longer storage, wrap tightly in plastic wrap and freeze for up to three months. Thaw at room temperature before serving for the best texture and flavor.

Old Fashioned Penuche Fudge
Ingredients
- 3 tablespoons unsalted butter solid and optionally cut into chunks
- 2 cups granulated sugar
- 1 cup light brown sugar firmly packed
- 1 cup whole milk
- 1 ½ teaspoons pure vanilla extract
- Optional: 1 cup pecans or walnuts coarsely chopped
Instructions
- In a 3-quart saucepan, mix both sugars with the whole milk and place over medium-high heat. Stir continuously until the mixture begins to boil, then immediately cease stirring to prevent sugar crystals from forming.
- Lower the heat to medium and allow the mixture to cook undisturbed until it reaches 236°F (113°C), the soft-ball stage.
- Remove the saucepan from the heat and carefully add the solid butter along with the vanilla extract. Refrain from stirring at this point. Let the mixture rest until it cools to 110°F (43°C), checking the temperature after 10 minutes and then every 5 minutes thereafter.
- Meanwhile, generously butter an 8-inch square pan and set aside.
- Once cooled to 110°F, beat the mixture with a wooden spoon until the butter is fully integrated and the fudge begins to thicken. Quickly transfer the fudge into the prepared pan before it sets.
- If including chopped nuts, stir them in rapidly just before pouring the fudge into the pan.
- Allow the fudge to cool thoroughly before slicing into 1-inch squares. Store in an airtight container in the refrigerator.
Notes
If the fudge becomes grainy or too firm, it may have been overcooked. To salvage it, add a small amount of milk or water back to the pan, reheat slowly to 236°F, and cool again to 110°F before beating.